Invoices are documents of proof that are sent to the customer from the business owner, which entails the product/service details, the payment information, and the transaction details that would act as a statement of the transaction that took place. Maintaining invoices helps the business not only with staying organized, but also making sure their taxes information is correct. Having a solid record of payment and transaction will ensure that there are no discrepancies between the customer and the business owner, especially when an item has to be returned or exchanged.
Invoices vs Sales Orders
Sales Order is generated by a business when a customer raises an order. This order can be raised via voice calls, messages, e-commerce websites etc. It's not required for the customer to be physically present and can be fulfilled through shipment. A Sales Order contains product description, quantity ordered and the price of the product. A Sales Order is a document raised by the customer but it is non-actionable, that is, it does not impact the account stock of items. This is where an Invoice comes into play.
An Invoice is a proof of document for an order being placed. For a Sales Order to be converted into a business transaction, it has to be converted into an Invoice before billing. An Invoice includes customer details, items purchased and the amount paid for them, taxes applied and the terms and conditions of the business. An Invoice can be legally enforced if needed and it can be a point to reinstate the brand. Invoices will be raised at the billing counter before a bill is generated for the customer.
Creating an invoice
Creating an invoice for the first time requires the user to select their transaction preferences from the pop-up. To do so:
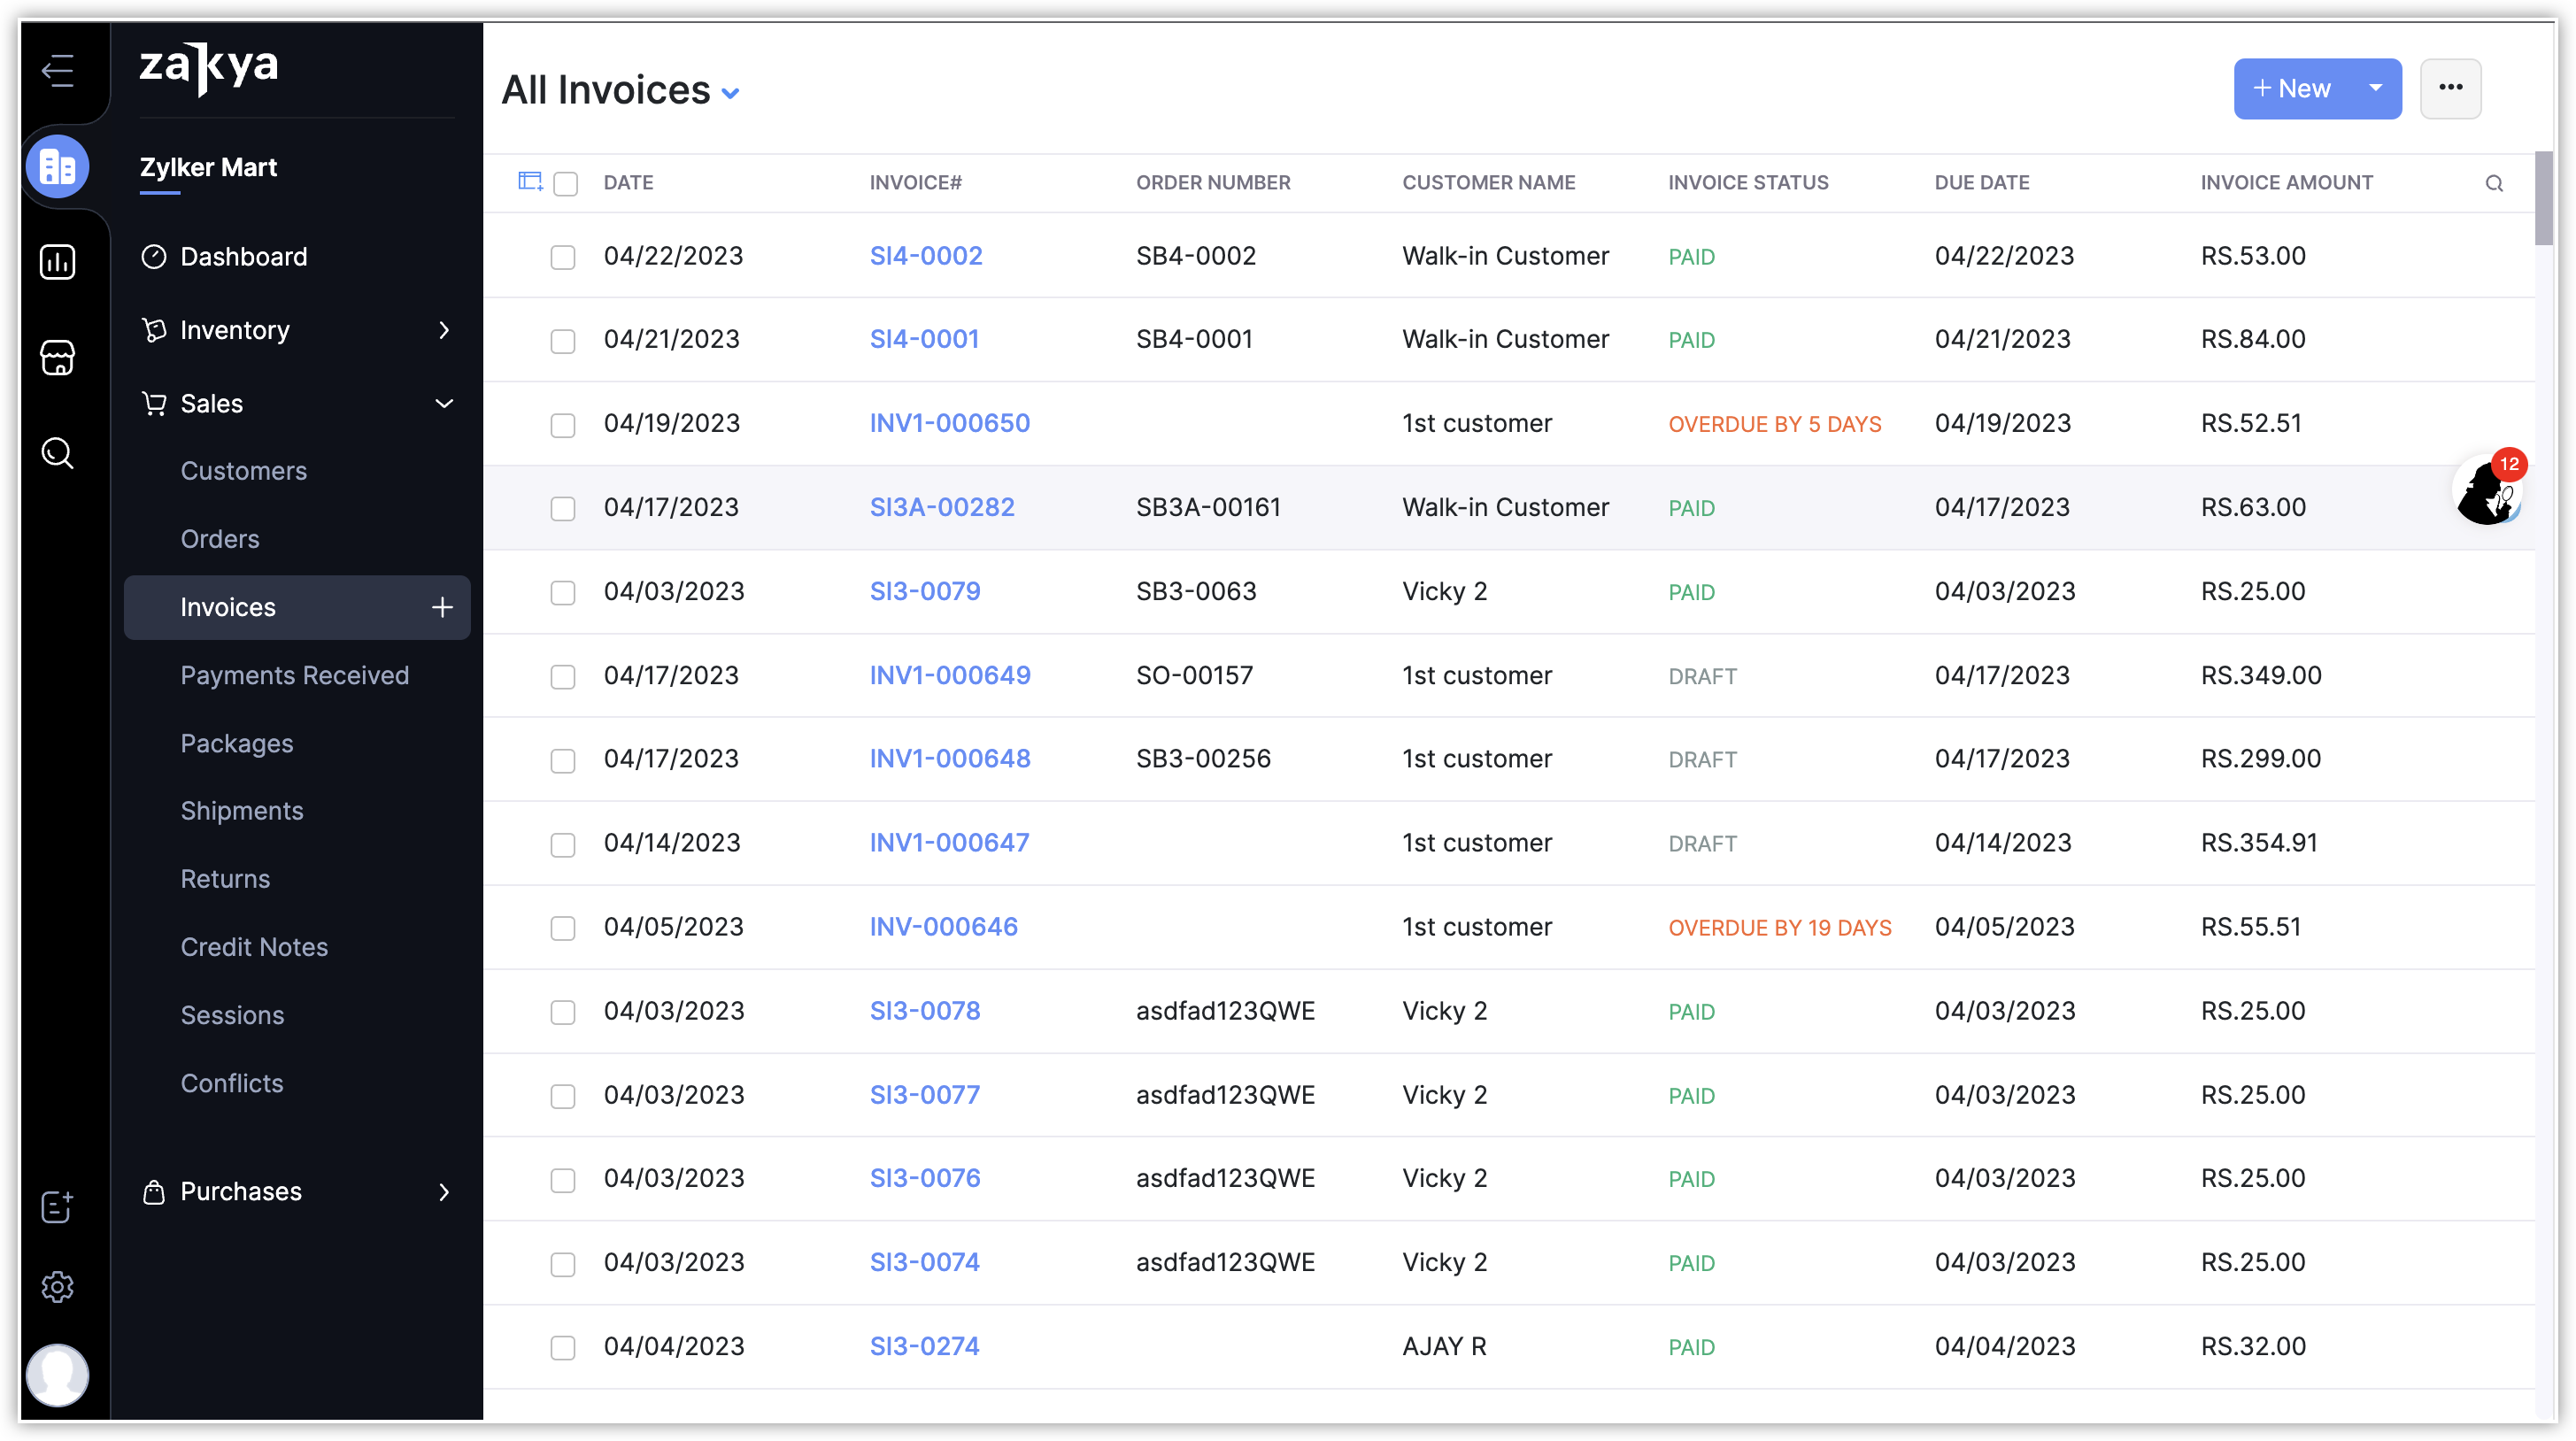
- Open the Zakya POS web application.
- Select Invoices under the Sales module.
- Click the +New or the New Invoice button.
- In the New Invoice page, fill out the required details.
- Click Save and Send and select one of the three options.
- Save and Print to get a physical copy of the invoice.
- Save and Share to share it with the customer.
- Save and Send Later to schedule the invoice for another time.


Notes
- These preferences can be changed later from the Preferences tab under Settings.
- You can also change the template of the New Invoice page by clicking the Change option and choosing between the Spreadsheet or the Standard templates.
Understanding Invoice statu
It's important for any business to understand the terminologies that are used in generating and maintaining an invoice. These terms explain the status of an invoice, and are utilized throughout the process of generating an invoice.
- Draft - An invoice will be referred to as a draft before being sent to the customer.
- Sent - An invoice that was sent to the customer via SMS/E-mail will be marked as sent.
- Overdue - An invoice whose payment has exceeded the deadline will be marked overdue.
- Partially Paid - When a part of the invoice was paid, it will be referred as Partially Paid.
- Paid - An invoice whose payment status is complete will be marked as Paid.
- Void - An Invoice with no more transactions.
To edit an invoice
- Open the Zakya POS web application.
- Select Invoices under Sales module.
- Open the invoice to be edited and click the Edit button in the menu bar.
- Edit the required fields and click Save. The invoice will be updated with the edits.


Notes
- If the Invoice is digitally signed, it will need to be re-signed before being sent.
New Invoice page - Basic and Payment Details
The New Invoice page, which the user has to fill out to generate a new invoice, requires both basic as well as the Payment and Item details. The customer will only be able to generate an invoice after filling in these details.
Configuring Basic Invoice Details
Before generating a new invoice in the New Invoice page, basic details will need to be supplied, including name, date, place of supply, and others.
- Customer Name - Select the name of the customer that the invoice will be raised for from the drop-down, or add new customers by selecting New Customer.
- Place of Supply - Select the state or the union territory of the customer.
- Invoice Number - Manually enter the invoice number or auto-generate one by clicking the gear icon.
- Invoice Date - Enter the date on which you want the invoice to be raised, it can also be predated.
- Order Number - In case of a physical sales transaction, enter the order number here. This field is optional.
- Warehouse Name - Select a warehouse name from the drop-down.


Configuring Item and Payment Details
Once the basic details are added, you will need to add the item and payment details in the same New Invoice page.
- Customer Name - Select the name of the customer that the invoice will be raised for from the drop-down, or add new customers by selecting New Customer.
- Item Details - Type the name of the item or select the item out of the available ones. To add more items, click Add Another Line. Here, you can either add an item in the header or you can add items in bulk. In the same row, you can add or edit the quantity, rate, discount percentage, price lists and tax details, If any.
- To view more details, click the three dots next to that item row and select Show Additional Information. A drop-down will appear where the user can select the option they require more information on. To delete an Item, click the red cross mark next to the Item.
- Add New Item - To add a new item, click this option and fill in the required details.
- Customer Notes - Add in any message to be delivered to the customer.
- Adjustments - Enter the shipping charges and any additional charges in the section. This will be reflected in the total.
- Terms and Conditions - Enter the terms and conditions that should be displayed in the transaction.
- Email To - Enter the email address of the customer here to email the invoice to them directly.
- Save and Send - Click Save and Send to send it to the customer. In the same drop-down, the invoice can either be saved as a draft or be printed as a physical copy.


Adding Items in Bulk
While generating a new invoice, it is mandatory to add all the items for which the invoice is raised. However, in a bulk order, it is extremely difficult to add a hundred or more items. Invoices in Zakya allow the user to add items in bulk, cutting down the work hours and as well as restricting any manual error. To do so:
- Open the Zakya POS web application.
- Select Invoices under Sales module.
- Click the +New or the New Invoice button.
- On the New Invoice page, under Item Details, click Add another line.
- Click Add Items In Bulk from the drop-down.
- In the following pop-up, select all the items to be added and configure the quantity of each.
- Once done, click on Add Items to add the selected items to the Invoice.


Creating an invoice for Sales Order
For every transaction that takes place, a Sales Order will be generated. With invoices in Zakya, it enables the business to raise an invoice from a Sales Order. To do so:
- Open the Zakya POS web application.
- Go to the Orders module under Sales tab from the side bar.
- Open the Sales Order for which an invoice needs to be generated.
- Click Convert to Invoice from the top bar. The page will be redirected to the New Invoice page with the details prefilled from the Sales Order. These can be edited as needed. Otherwise, click Convert and select Convert to Invoice.
- Enter the Adjustments, Terms and Conditions, and Customer Notes, then configure the payment method.
- Click Save and Send to send the invoice to the customer.
- The invoice created from the Sales Order can be viewed under the Invoices tab of the corresponding Sales Order.


Notes
- To create an invoice quickly, go to the respective Sales Order > Convert > Instant Invoice. This will skip the New Invoice edit page and generate an instant invoice.
- The name of the customer cannot be edited, as it has to be the same in both the Sales Order as well as the Invoice.
Creating an invoice for multiple Sales Orders
Processing multiple sales orders and not Invoicing them is a common drop back in any business. In a business to customer transaction, a customer usually will generate Sales Order. However, generating individual invoices for each of these Sales Orders is an extremely time-consuming task. The space for manual error is also high. In Zakya, you can generate a single Invoice for Multiple Sales Orders. This allows the business to collect and keep track of multiple sale transactions of a customer in one place.
Notes
- For an individual invoice to be generated against all Sales Orders, they must all be from the same customer and all the statuses of the Sales Order must be Confirmed. This option can be used only for generating direct invoices.
To create an invoice for multiple Sales Orders
- Open the Zakya POS web application.
- Select Invoices under the Sales module.
- Click +New and open the New Invoice page.
- Select the name of the customer for whom the invoice is to be raised.
- Under Item Details, click on Include Confirmed Sales Orders.
- Select the Sales Orders and click on Save. The invoice will be generated for all the selected Sales Orders.


Notes
- A Sales Order that is to be drop-shipped, a backorder, or a Sales Order that has an invoice cannot be included under this.