Edit
In the Payments Made module, you can select a record and click the Edit icon to make changes.
Download PDF or Print
A .PDF version of the payment can be downloaded or printed by clicking the PDF/Print in the details page.

Send Email
The receipt or copy of the payment that has been made for the invoice can be sent as an email.
To send email
- Select a record in the Payments Made module and click Email.

- Choose the appropriate email address from the Send To and CC fields.
- Click BCC and specify an email address, if necessary.
- Enter the subject and body of the email.
- Click Attach Files to add attachments from your device in the email.
- Click Send.

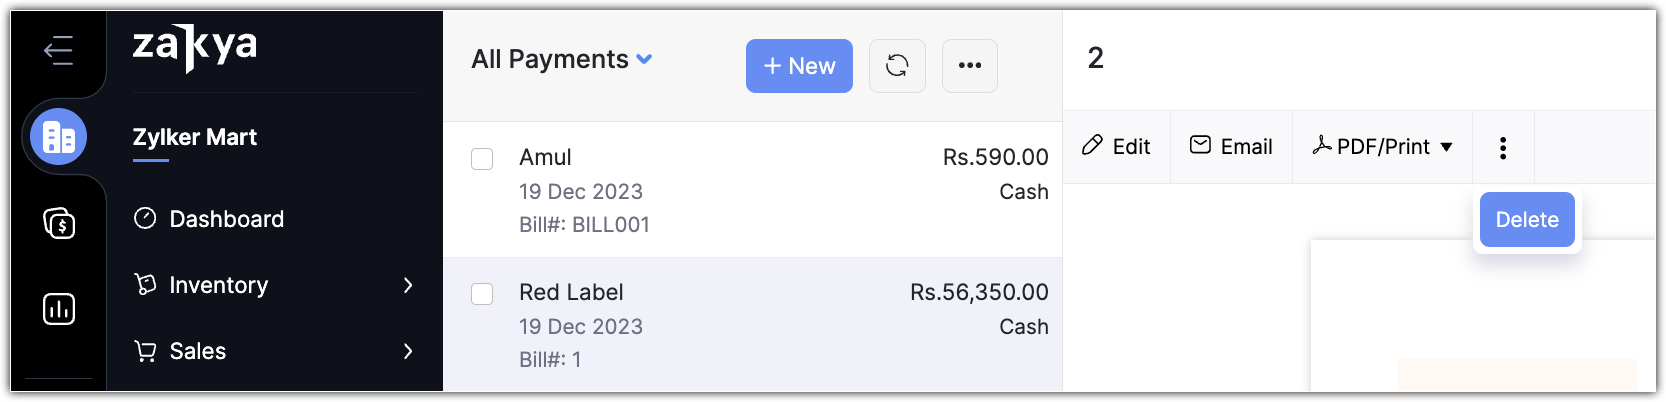
Delete
The record of the purchase can be deleted by clicking the More > Delete icon from the details page.
View and Filter
The list view helps you view all the payments that have been made. You can also create a list view based on your requirements.
To create a custom view
- In the Payments Made module, select the Views drop-down list.
- Click + New Custom View.

- Enter the Name and specify the criteria.
- Hover over the fields in the Available Column and click the Add icon to view them in the List View.
- Specify who can access this view in the Share this with section.
- Click Save.

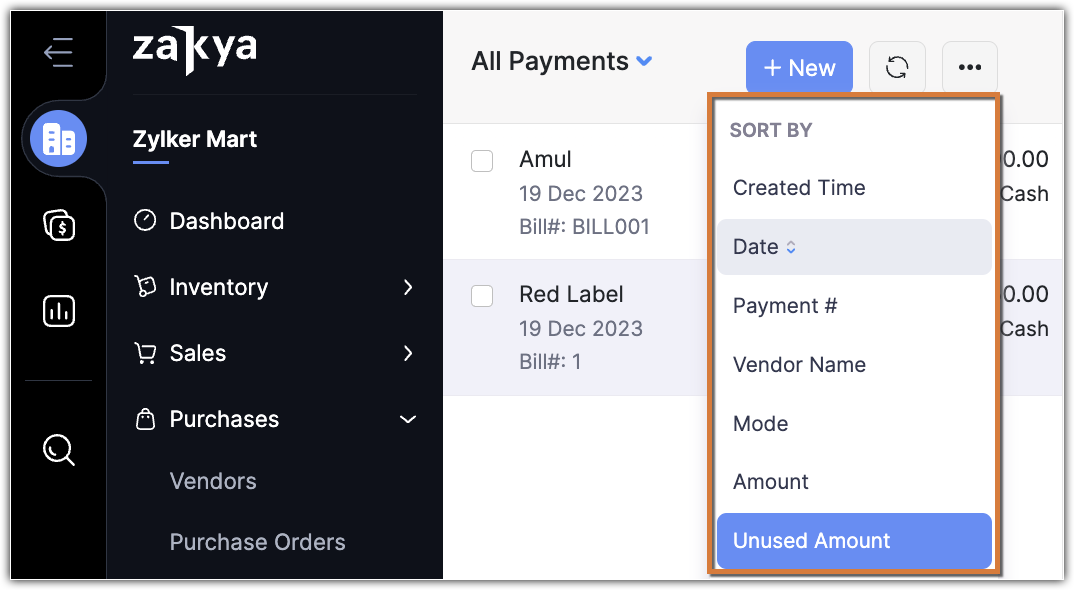
Sort Records
Payments can be sorted based on the following fields:
Created Time, Date, Payment Number, Vendor Name, Amount, Mode, and Unused Amount. To sort records, click the More icon in the Module list view and select the appropriate field.
Customizing Fields
The fields in the module can be customized based on your requirements. Apart from the default fields, custom fields can be added to the purchase orders module. A maximum of 44 custom fields can be added.
To add custom fields
- Go to Settings > Preferences > Purchase Made.
- Select the Field Customization tab and click + New Custom Field.

- Enter the label name (field name) and specify the date type from the drop-down list.
- Specify the default value to be displayed in the field, if required.
- Click Yes if you want to the field to be mandatory.
- Click Yes if you want this field to be displayed in transactions and PDFs.
- Click Save.
