You can print bills from your Express Checkout application by connecting it to an Ethernet printer. In a day-to-day business scenario, this configuration is more efficient than other printer configurations since you can connect multiple devices to a printer and print bills at the same time while others allow you to only connect one device at a time.
An Ethernet printer can be connected to the Express Checkout application by assigning a static IP address.
Notes
- As of now, this feature is only available in the Express Checkout application for Android.
Set a static IP for the printer
Every internet-connected device, including computers, laptops, and IoT devices, has an IP address. IP addresses enable the efficient transfer of data between two linked devices, allowing machines from various networks to communicate with one another.
A static IP address is one that can be assigned for a single device that cannot be changed automatically. The IP address will remain the same each time you try to connect to the device, allowing you to use your device remotely via a secure LAN connection.
Prerequisite:
- Your router should be under static IP maintenance.
Locate your printer IP details
Before initiating this process, please disconnect your internet connection.
- Connect your printer and system via an Ethernet cable.
- Power off the printer.
- Press and hold the feed button in your printer.
- Power on the printer and continue to hold the feed button. After a few seconds, a settings sheet will print the details of the printer.
Make a note of the IP address, Subnet mask, and gateway values from the details list. These values can be used to configure your printer's IP address, ensuring your system and printer share the IP range.
Set your IP address (Windows user)
- Navigate to search bar, type "Network Connections" and select View Network Connections from the search list.

- Right-click the Ethernet connection to which the printer is connected and select Properties.

- In the Properties pop-up screen, double-click Internet Protocol Version 4.

- Click Use the following IP address, enter your new IP address based on your IP range, and enter additional data such as the Subnet mask and gateway noted down from the printer details.
- Click OK


Set your IP address (MAC user)
- Open System Settings (System Preferences in macOS Monterey and older).

- Choose Network.

- Choose the Ethernet connection in which the printer is connected and click the Details button next to the network name.

- Select the TCP/IP tab in the left panel of the window that appears.

- Change the Configure IPv4 drop-down to Manually.

- Enter your new IP address, Subnet mask, and gateway (Router) and click OK.


Now, both your system and printer will be on the same IP range. You can now set a static IP address for your printer.
Set a newstatic IP address
Notes
- The static IP address must be within your router's IP range. So, please check your router's IP range before setting up your static IP address.
You can set a static IP address for your printer using either of the ways given below.
- In your browser's address box, enter your new IP address and port number (for example, 192.162.310.100:9100) and hit Enter. You will be routed to the printer's console page where you can configure a static IP address for the printer. (OR)
- Set a static IP address through the printer driver settings. If you can't find the driver installed on your system, search the internet for your printer's name and serial number and download it.
Now, you can use this static IP address to connect your Express Checkout application with your printer.
Configure your Ethernet printer
- Log in to your Express Checkout application.
- Click the Menu icon and select Settings from the homepage.

- Select Printers.

- In the Printer Detail section, click Configure Printer.

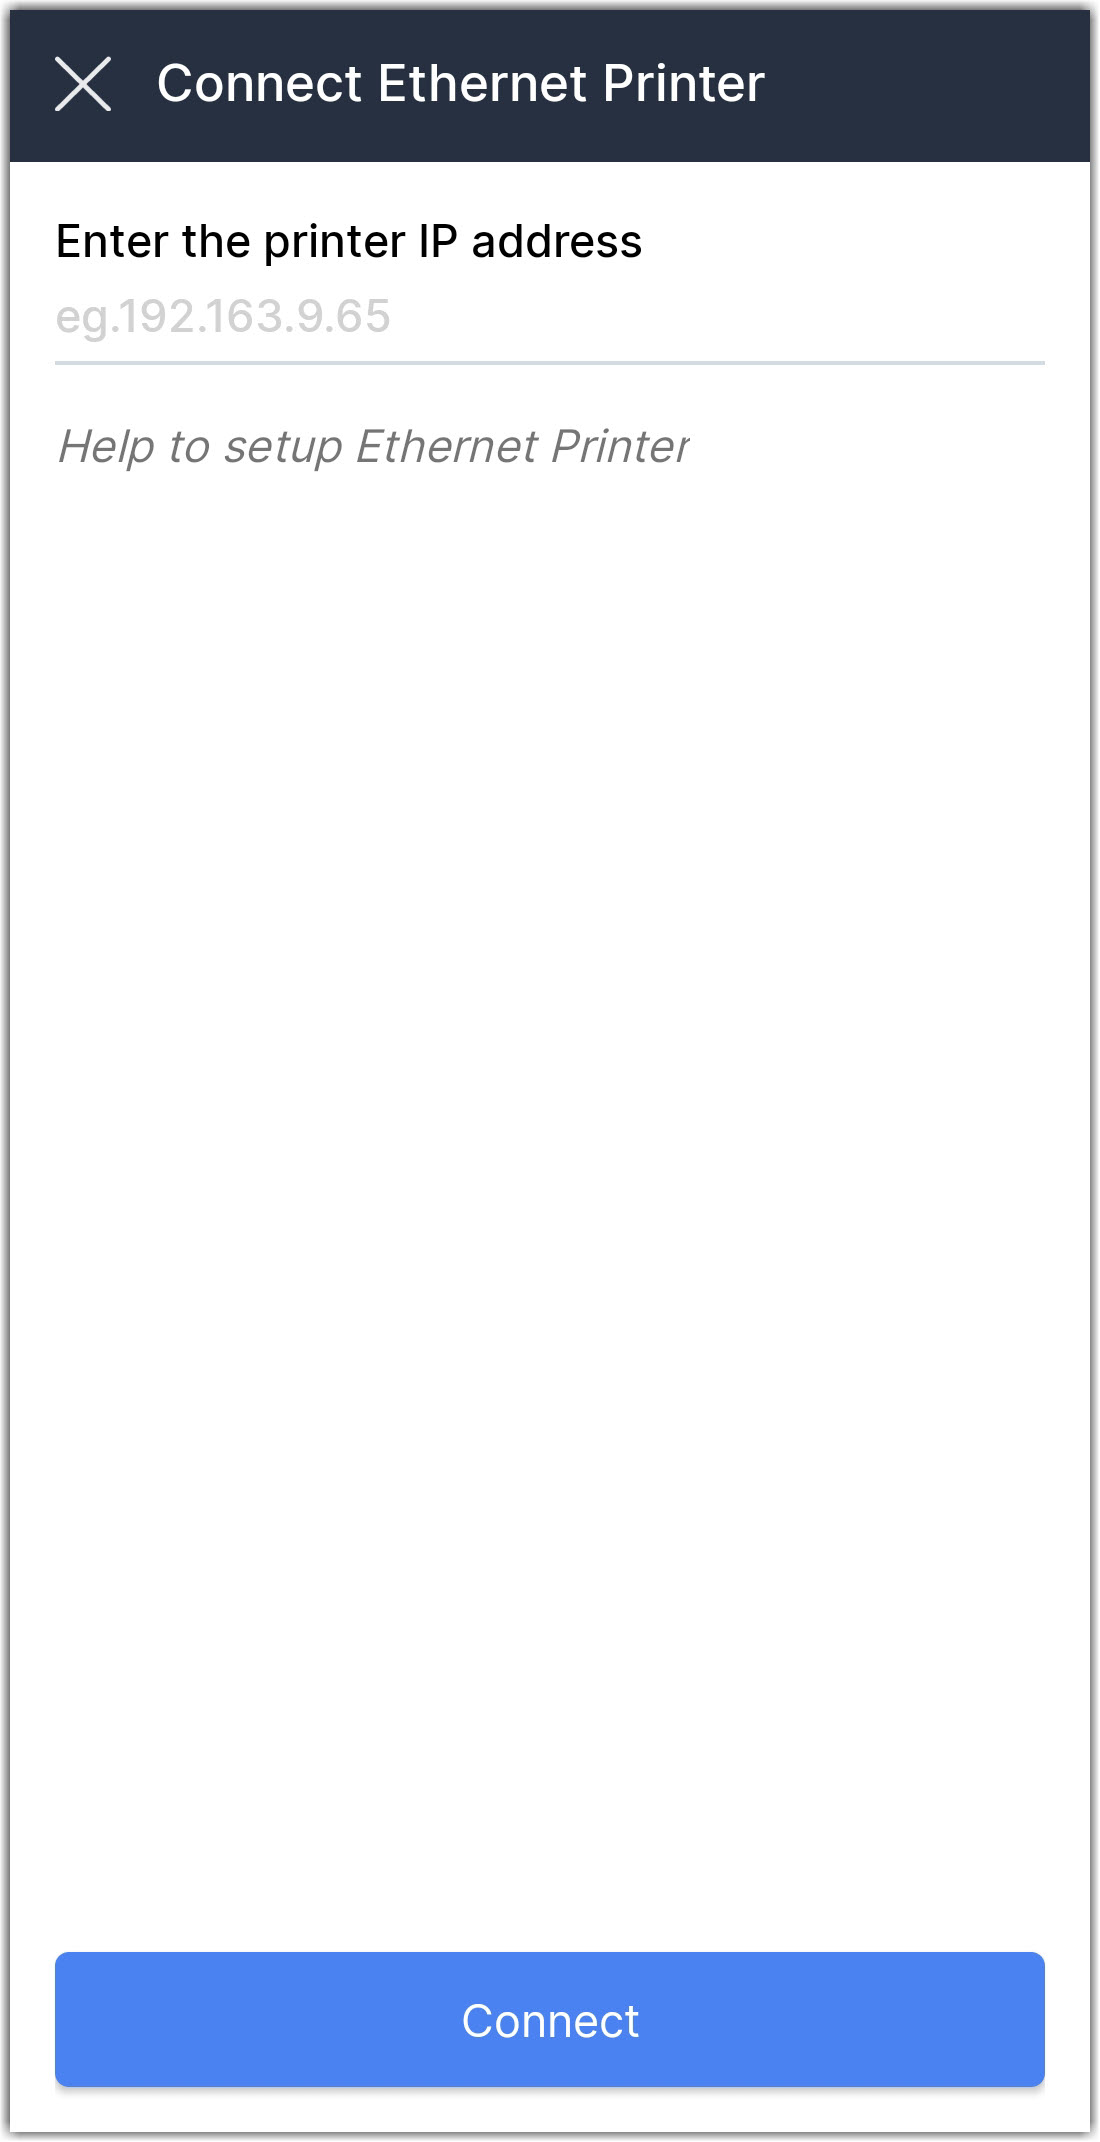
- Select Ethernet.

- Enter the static IP address that you assigned to your printer in the Enter the printer IP address bar and click Connect.